We are powering on with the updates in the house and I am desperate to get the kitchen/dining room finished. Sadly the floor is costing much more than anticipated, so we will have to wait until we can afford to buy all the flooring before
hubby is able to lay it. Its very technical (apparently) you have to do it all in one go. Desperate to get the house completed after 10 years of living in mess and half finished rooms, when Homebase recently offered us a substantial amount of vouchers towards a project in the home I jumped at the chance for hubby to continue the utility room makeover .
.jpg)
Originally the two doorways you can see on the left of the picture were a coal shed and an outside toilet. When we moved into the house the previous occupant had put a small conservatory type addition onto the back to enclose these two rooms. The boiler was housed in one and a rather chilly, sad toilet remained in the second. We decided several years ago that it would be better to take the wall down between the two rooms and try to make a decent sized utility room. With a houseful of men there are a lot of dirty shoes, boots, balls, tools you name it, but I am determined to get some sort of order to my home now we are near completion of all the work.
.jpg)
The first job was to remove the wall between the two rooms, take out the old toilet & window. Hubby then relined the walls, put up plasterboard and fitted a new window.
.jpg)
The second entrance which would originally have been the coal shed but which now houses the boiler, hubby made into built in shelving for us. This has rapidly filled up but I have lots of plans for this space, oh yes I do ! Colour co-ordinated order WILL live here if it kills me.
.jpg)
Inside the space will still be quiet snug but I have plans to utilise every single square inch. The new boiler was recently fitted and I am hoping we can come up with a solution to hide the unsightly pipes etc.
.jpg)
.jpg)
Hubby also raised the roof height so I have plans for shelving and storage all around the top of the walls too.
.jpg)
We decided the vouchers from Homebase would be best spent on tiles. We originally planned to tile the walls and floors but changed our minds, opting instead to go for a clean fresh tongue and grove on the walls (white of course) and dark tiles to compliment the flooring for the kitchen on the floor.
.jpg)
Hubby in Homebase filling up the trolley with our chosen tiles. Great selection and really good value. To make it even better value for money there was a 15% off most items this weekend so we really got ourselves some bargain tiles.
.jpg)
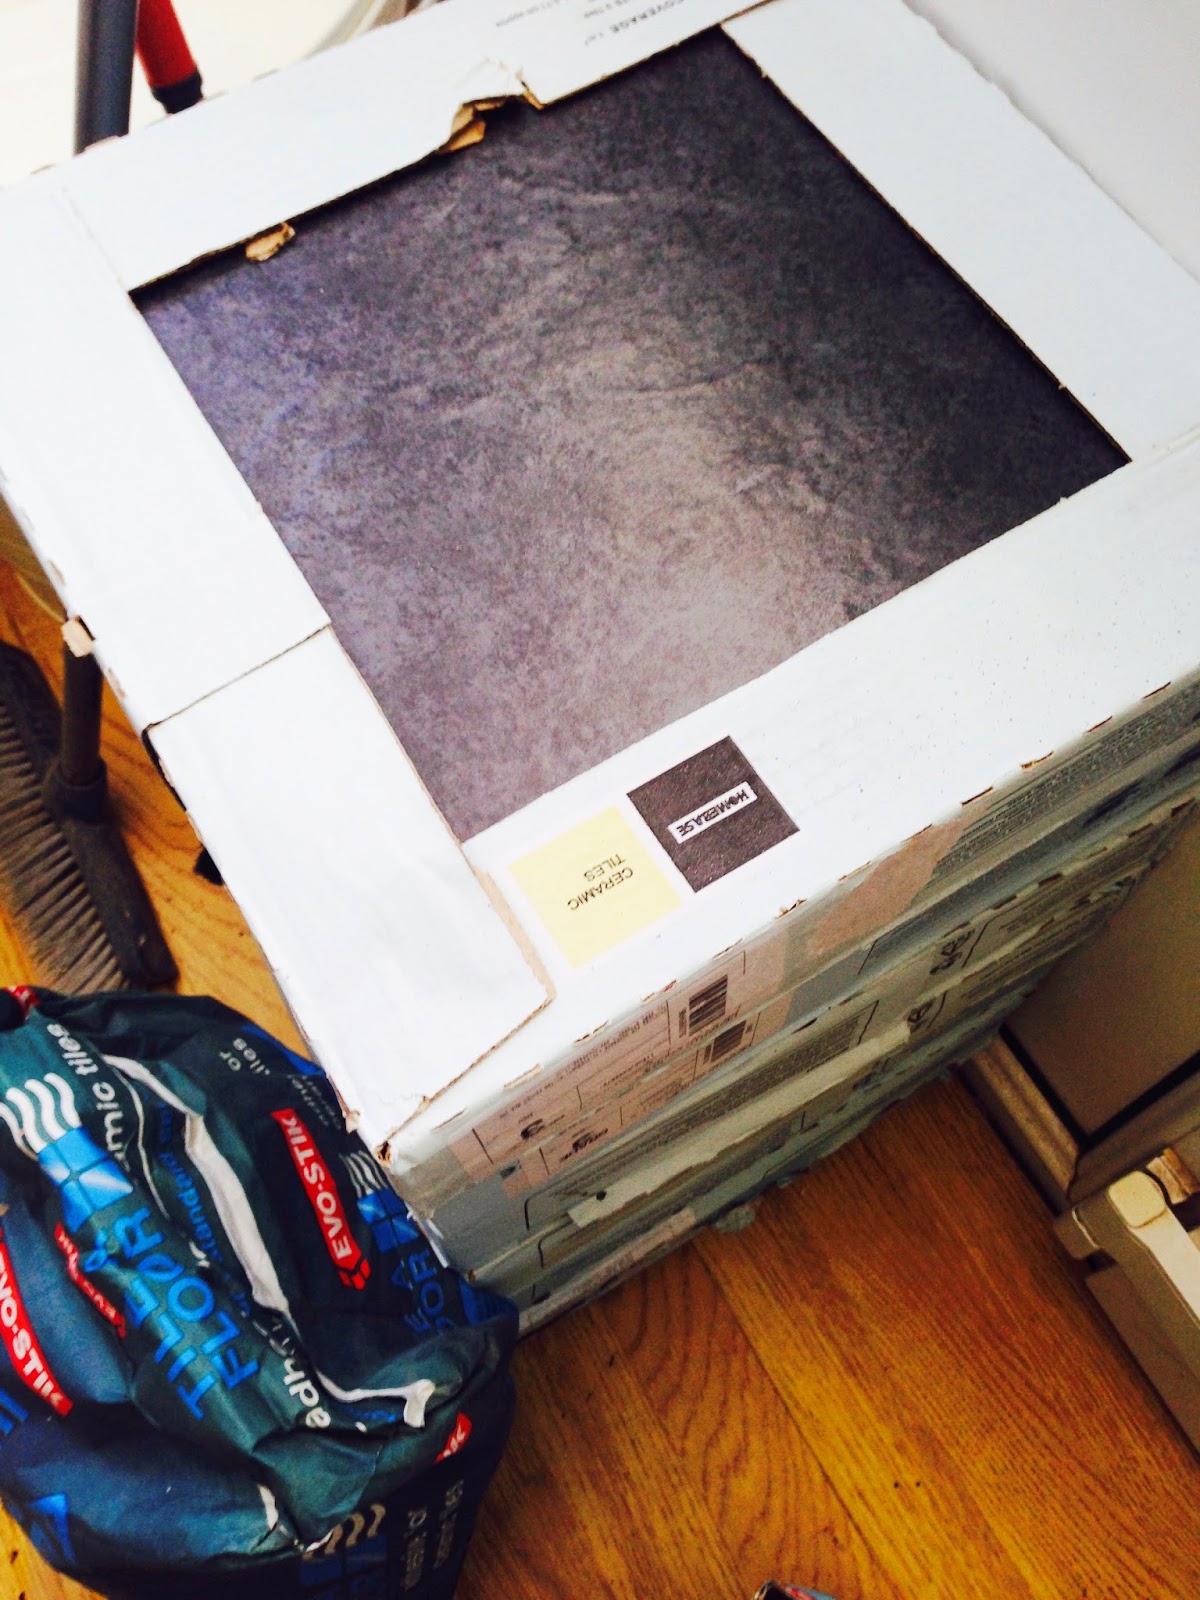
We chose Cuba ceramic tiles by Homebase. They are a lovely slate grey almost black tile, great quality and really good value for money in comparison to some other brands we looked at. Hubby has just screed the floor and we have to wait for that to settle and dry before he can start to lay the tiles.
Can't wait to get this room finished. Please follow my blog to stay up to date with the renovations. You can also visit my Renovation Page to see what we have done around the house so far.